
How to Provide Liquidity on QuickSwap

Season 1 of the Somnia Liquidity Points (SLP) program is live, and over 48,000 users are already earning rewards by providing liquidity across the ecosystem. QuickSwap is one of the cooperating exchanges, allowing you to put your assets to work while earning both trading fees and SLP rewards.
There’s still plenty of time left in season 1, so don’t sleep on Somnia!
Step-by-Step Guide
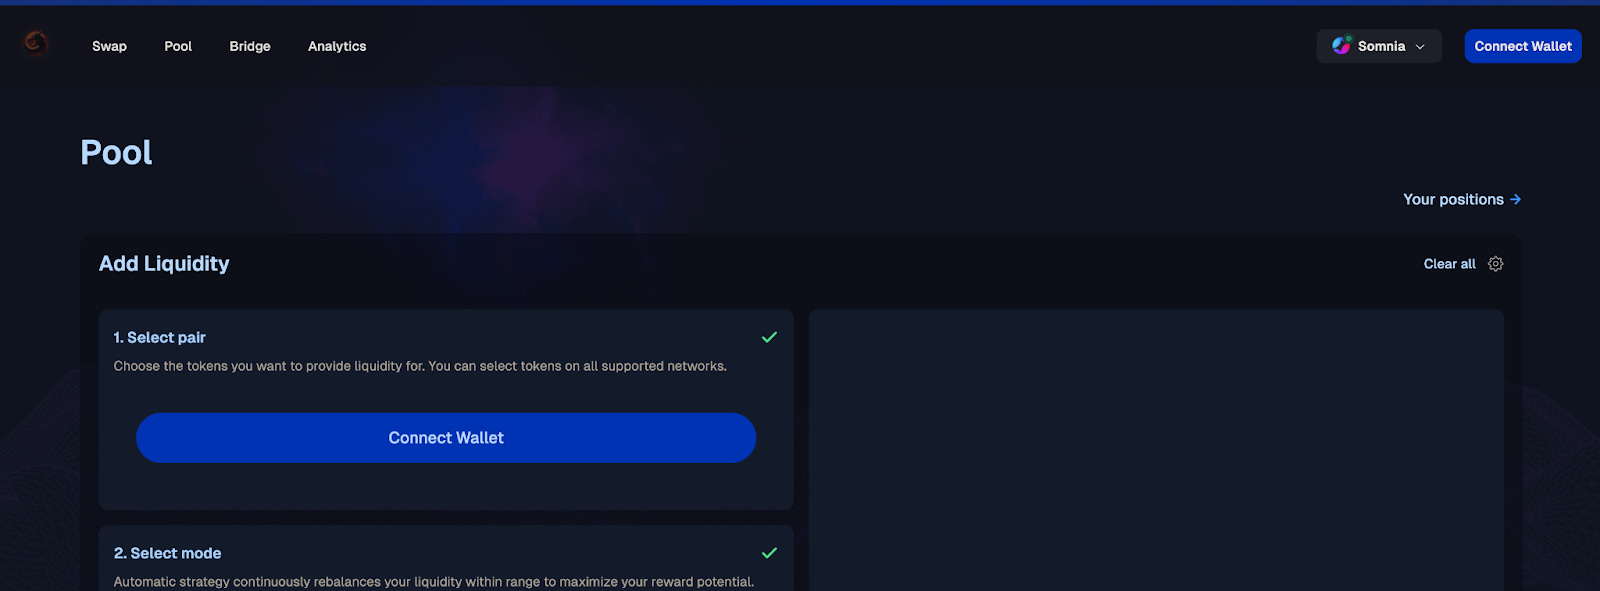
1. Connect to QuickSwap
Visit: https://dapp.quickswap.exchange/pool
Then connect your Web3 wallet using the button in the top right corner.
Make sure your wallet is connected to the Somnia network.
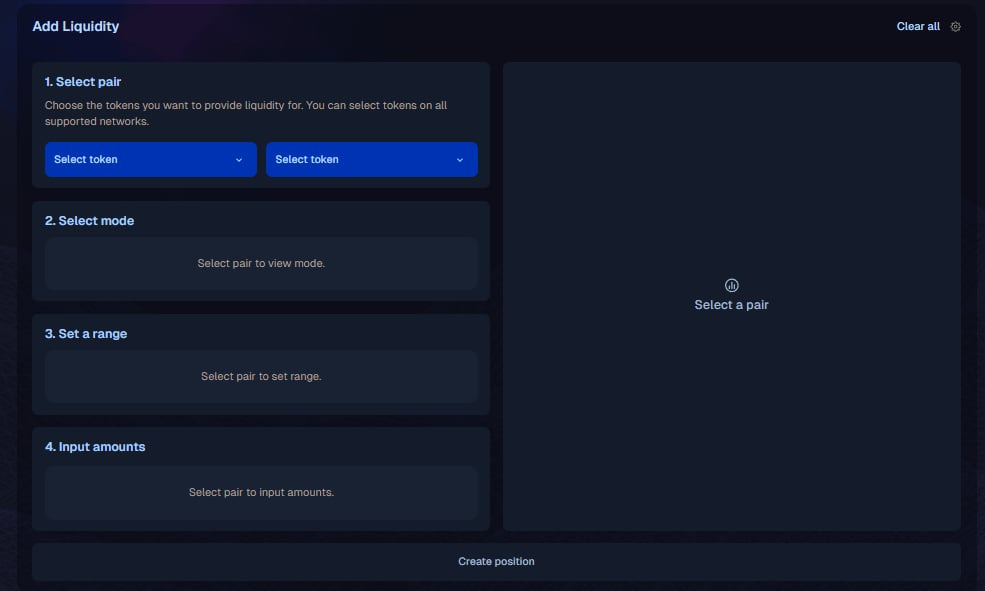
2. Select Your Token Pair
Under “Add Liquidity,” choose the two tokens you want to provide.
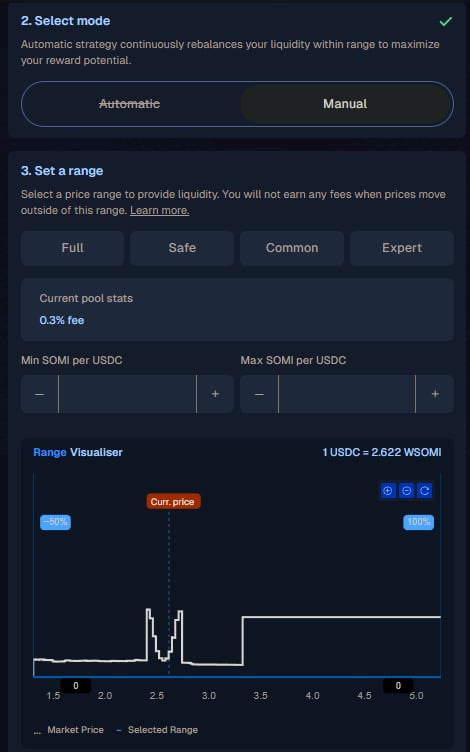
3. Choose Your Strategy
You’ll have the option to select a liquidity strategy. These are your choices:
Full Range: Your liquidity is spread across all possible prices. This is the safest option but earns lower fees.
Safe: A moderately wide range that balances earning potential with reduced risk of going out of range.
Common: A tighter range focused around the current price, offering higher fee earnings with moderate management needs.
Expert: The narrowest range for maximum capital efficiency and fee generation, but requires active monitoring as price movements can quickly push your liquidity out of range.
4. Enter Your Deposit Amounts
Enter the amount you want to provide for one of the tokens. The interface will automatically calculate the proportional amount needed for the second token based on the current pool ratio.
You can also click “MAX” next to either token to use your entire balance, but be careful to leave yourself enough gas to use the network.
6. Approve Your Tokens
If this is your first time providing these specific tokens to QuickSwap, you’ll need to approve them.
This will require one transaction for each token, but you do not need to approve SOMI, since it is the native token of the network.
7. Preview and Confirm
After approving your tokens, click the “Create Position” button. Next, a popup will appear showing:
The exact amounts being deposited
Your share of the pool
The exchange rate
Estimated transaction fees
Review these details carefully. When everything looks correct, click “Confirm” and approve the transaction in your wallet.
8. Receive Your LP Tokens
After the transaction confirms, you’ll receive LP (Liquidity Provider) tokens representing your share of the pool. These tokens will appear in your wallet and in the “Your Liquidity Pools” section of QuickSwap.
Your LP tokens automatically earn you a share of trading fees proportional to your portion of the pool.
Removing Liquidity
When you’re ready to withdraw your liquidity:
Navigate to your liquidity pool using the “Your Positions” link on the top right of the “Pools” page.
Click “Manage” on the pool you want to withdraw from
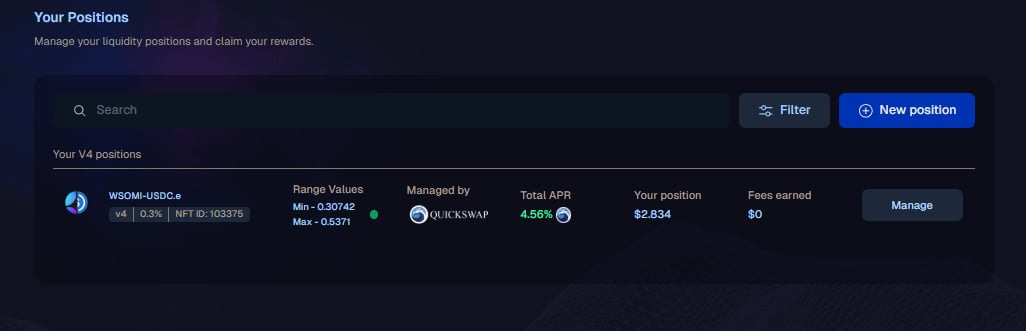
Select the “Withdraw” tab
Use the slider in the pop-up to choose how much liquidity to remove, or enter a specific percentage
Click “Remove” and confirm the transaction
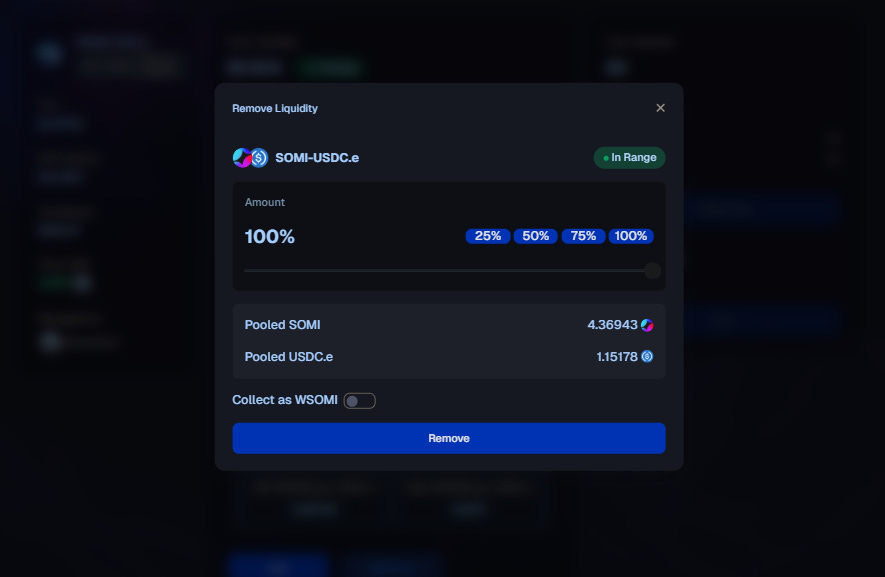
Your original tokens plus any earned fees will be returned to your wallet. The amounts may differ from your original deposit due to price changes and accumulated trading fees.
Pay Attention!
Understand Impermanent Loss: When token prices change relative to each other, you may end up with less value than if you’d simply held the tokens. This is called impermanent loss, and it’s an important consideration when providing liquidity.
Monitor Your Position: Check your position regularly, especially in narrow-range pools where price movements can take your liquidity out of the active range.
Extra Earning!
By providing liquidity through the SLP program, you’re not just earning trading fees. You’re also accumulating points toward your share of the 1,000,000 SOMI allocated to Season 1. The time-weighted formula rewards users who commit liquidity for longer periods, with loyalty multipliers that grow over time.
Head to the SLP dashboard to track your progress, review pool multipliers, and see your leaderboard position after you’ve provided liquidity.